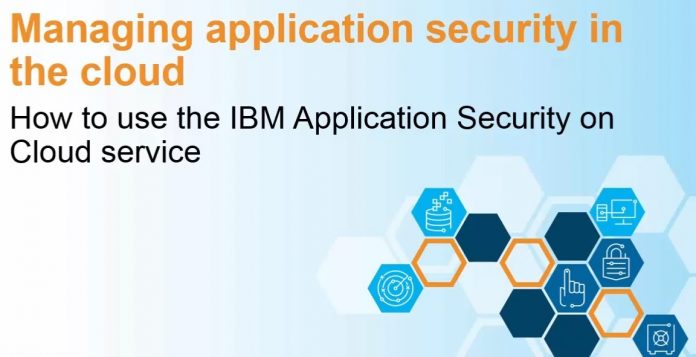
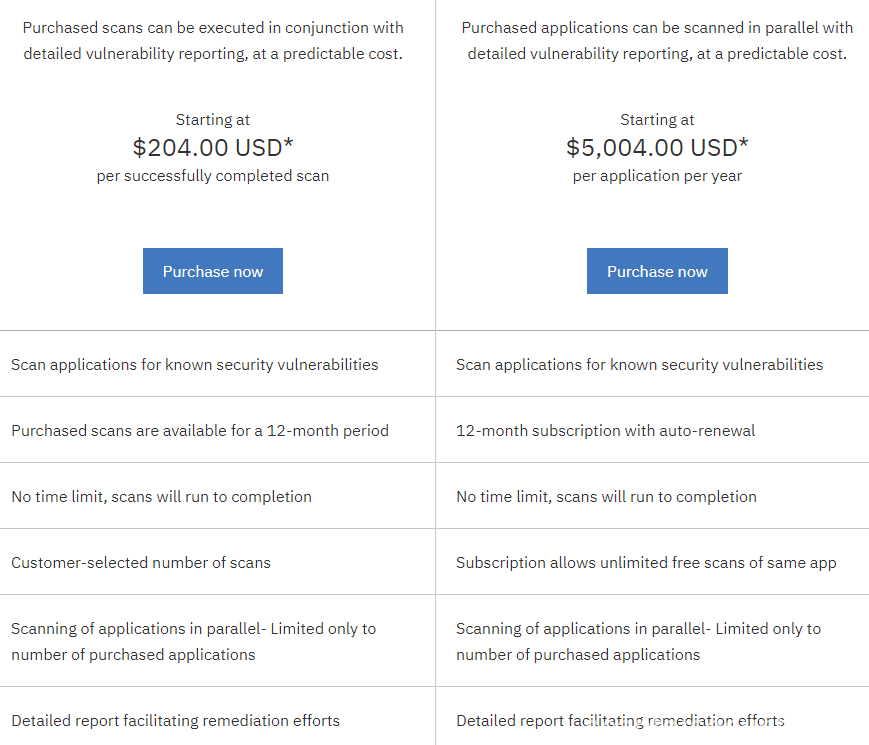
Previously we briefly described available IBM solutions for static code analyses and found two available options like scan our application locally with IBM AppScan Source or use cloud solution from IBM called “IBM Application Security on Cloud” which uses a bit different kind of licences. There you will pay for each new scan or for example you can obtain licence for 1 year of unlimited scans for one application.
Now let’s try to understand how to use this solution properly, as some steps to execute scans described by IBM not so clearly as some of you may think.
On the first step we will need to obtain the licence of the product which we can order directly from the IBM website. After order was placed, you will receive message through email from IBM with your credentials and access for IBM Application Security on Cloud.
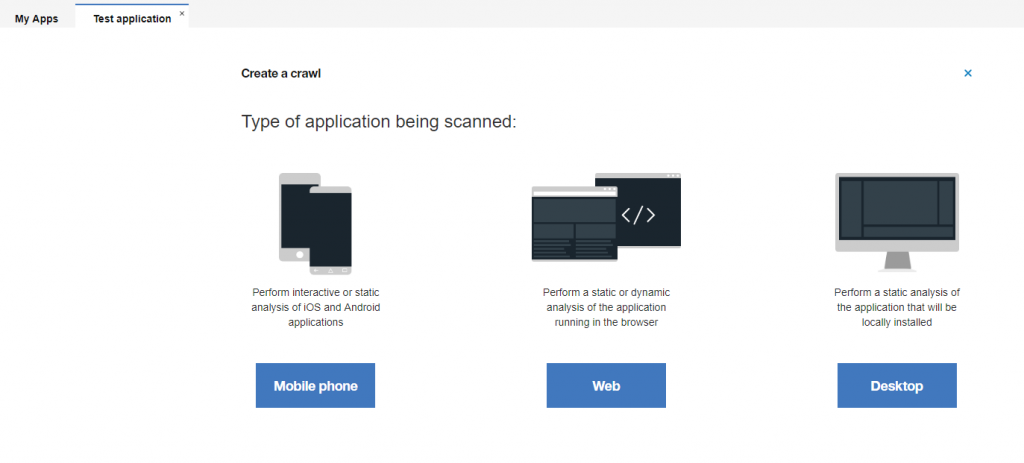
After registration process fully passed, you will be redirected to the private area where you will meet following interface and options:
Here we will need to choose “Web” if we going to scan a web application. In this guide our main aim is to understand how to do this and as example we going to use web application static code security analyses.
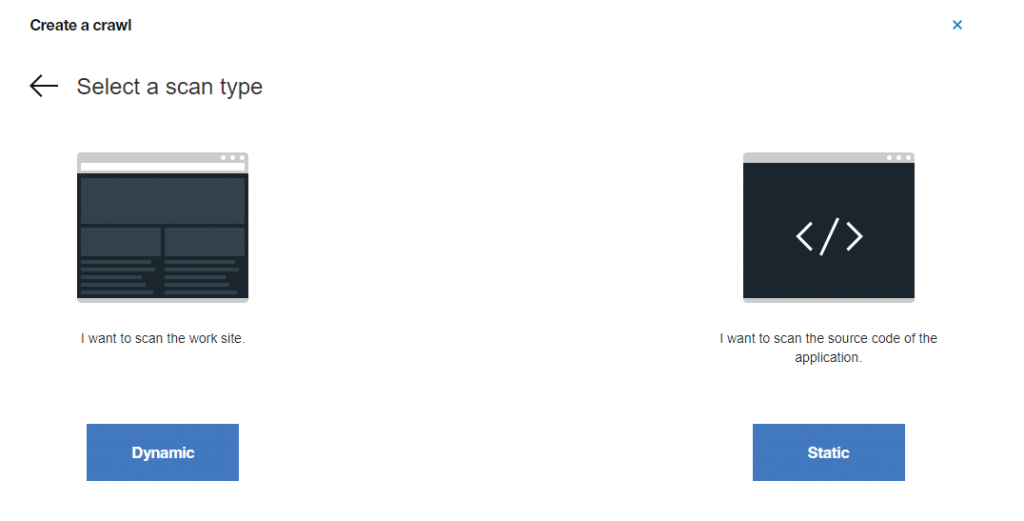
On the second step you may choose option to do dynamic website scan or execute static code analyses, let’s choose “Static”:
Than system will ask us to download specific application which helps generate IRX file (this is some kind of binary archive) so we can upload it securely on the cloud and execute analyses. Don’t click on “Select a file” but first let’s download required software by clicking on “You need the Static Analyzer Client Utility (IRX generator)” and download version for Windows (if you using Linux, choose another OS):
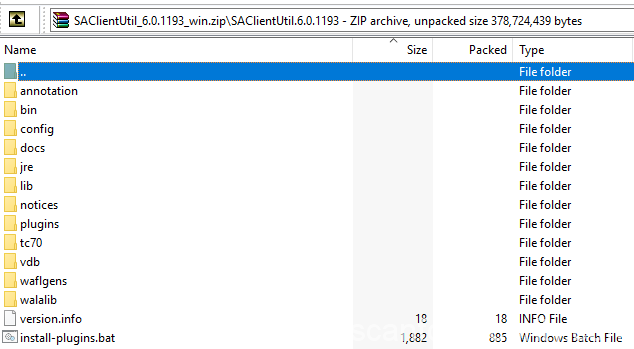
It may take you a while till download is finished, when all is done you will see archive with the name like “SAClientUtil_xxxx_win.zip”, unpack it and continue the process.
In archive you can see the following structure:
The main problem here missing file for our target application which IBM by some reason don’t provide and on their website you also won’t find it. We going to create this file manually:
- Create file “target.xml”
- Open it and add the following code:
<Configuration>
 <Targets>
 <Target outputs-only="true" path="D:\Path\To\Application">
 </Target>
 </Targets>
</Configuration>
Than just save it and let’s move on!
Open the command line and change directory to your SAClient unpacked folder with appscan.bat file, in my case it was “C:\SAClientUtil\bin\”, than launch “appscan.bat”:
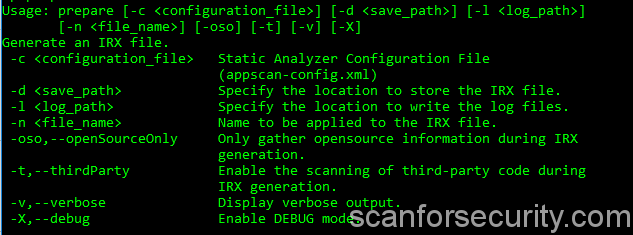
It will show you all available commands and keys which you can use for IRX archive generation.
To generate IRX archive with our target.xml file we will need the following command:
C:\SAClientUtil\bin\appscan.bat prepare -d C:\SAClientUtil -l C:\SAClientUtil -n project -c target.xml
Meaning of the each key you can find on previous screenshot, last one “-c” set path to our configuration file, don’t forget to use your own paths.
After creation of our newly IRX archive is done than we can move on the next step and upload our application for secure static code analyses on the cloud:
On last step you will only need to provide name of your scan and start analyses.
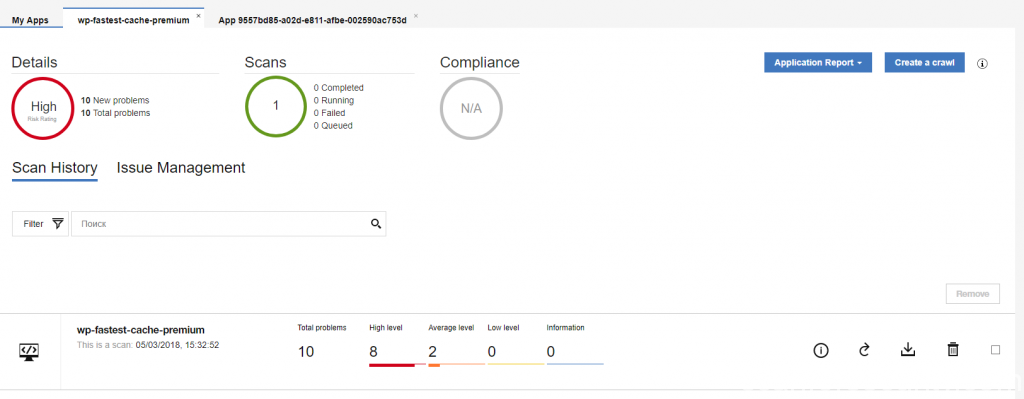
After scan will be done you will see it on your applications panel with some descriptions:
If you click on any of the available apps it will show you the final results with total count of vulnerabilities sorted by high, average, low and information level issues. It is possible to view the report online or download it in XML or HTML format to your PC.
If you used free version of the licence than you will be able to work only with raw XML format without possibility to download report in HTML or view some information in web version of the report without full details of the issues.


